Explained: What 100% Disk Usage Mean and How to Fix it
What does 100% Disk usage mean?
100% disk usage means that your disk has reached its maximum capacity i.e. it is fully occupied by some or the other task. Every hard-disk has specific read/write speed and generally the sum of the read/write speed is 100mbps to 150mbps. If the sum of the read/write speed exceeds than 100-150mbps then 100% disk usage occur.
How to Detect 100% Disk Usage
100% disk usage is very annoying as it slows down the speed of the PC. You need to detect it and fix it as soon as possible or it might crash your PC in severe stage.
Here’s the way to detect 100% disk usage:
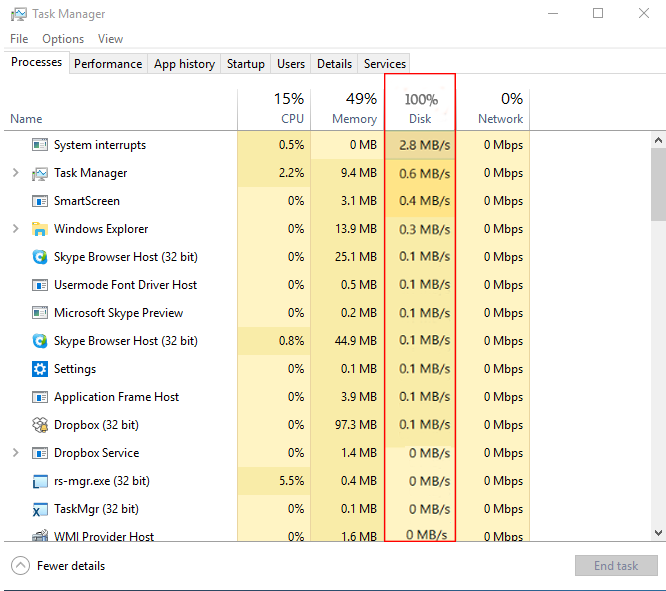
Right click on Taskbar ->select Task Manager->on the first tab Processes look for Disk column. If you’re having problems with PC, it should show somewhere near to 100%. It can put your PC on halt even if you’re not running any program.
Now that you’ve detected the problem, here’re 4 simple tips to fix 100 % disk usage:
# Tip 1 Check for hard disk error:
Wouldn’t it be great if all of those hard disk errors can be fixed in just few clicks? That’s exactly Windows inbuilt tool CHKDSK is for. Chkdsk can find out cluster of errors as well as file problems. Often, we may not know if our hard disk has problem until CHKDSK find it.
Lets’ run chkdsk. There are two ways to do this – Graphical and through command line. To open graphical versions open the file explorer:
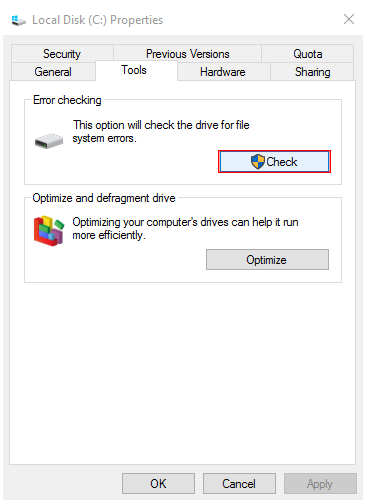
Click on This PC and right click on the drive you wish to run CHKDSK.Then Click on Properties, under the Tools tab find Error checking press Check button
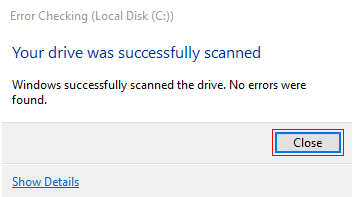
CHKDSK will now start running on Windows 10. On completion it will display a message. If no errors were found it will say so
If errors found, you’ll see following messages:
Restart your computer to repair file system. You can restart right away or schedule the error fixing on next restart.
Remo Optimizer can help in dealing with Windows bugs, it generates health report of your PC and fixes issues automatically.
Download Remo Optimizer for Free.
#Tip 2 Disable SuperFetch service:
SuperFetch is the technology introduced from windows vista and onwards, it makes sure that the often used data is fetched from the fast RAM instead of the hard-disk drive. It boots-up the speed of the loading time of the application you are using. It will adapt itself to your usage pattern to take timings into account. It has been noticed that the SuperFetch is one of the reason behind the 100% disk usage especially in windows 8 and 10. So it’s better to disable it.
To do this, open command line and enter
net.exe stop superfetch
#Tip 3 Scan for the viruses and remove them
Tried all the above methods but 100% disk usage is displaying? Then there is only one possiblity and that is “virus”. Virus might be running at the background consuming your disk. So detect for virus and remove them with the help of AV tool installed in your system or by using inbuilt AV.
#Tip 4 Disable Windows Search for Reduced Load in System Drive
Windows Search is meant to make searching files in your PC a lot faster, but a bug in Windows 8 and Windows 10 shows it increases load in your system drive. This make things slow down.
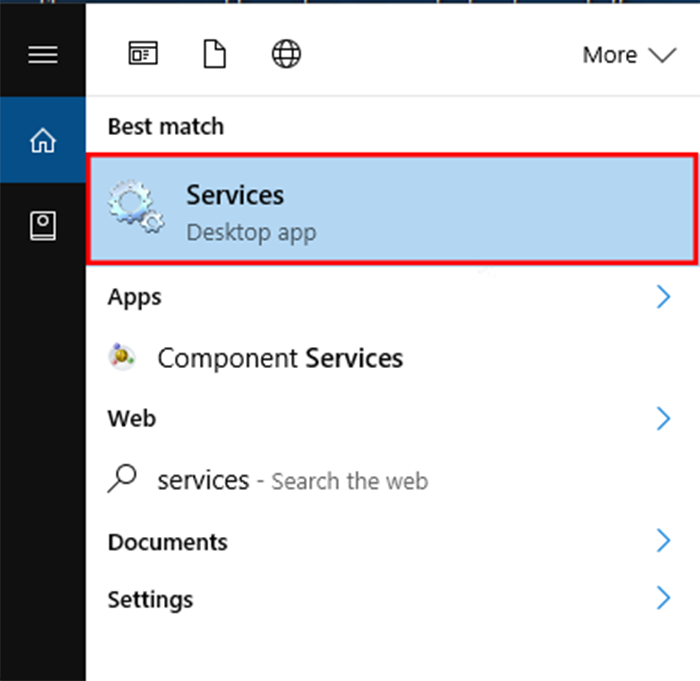
You can disable Windows search completely, in order to fix the bug. To do this – just hit start and type Services and then click the icon.
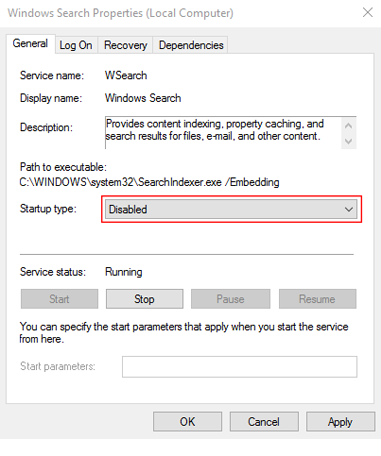
On the “Services” window, click on “Standard” tab and find “Windows Search” entry and double click on it.

In the next dialogue box, select “Disabled” option from the drop down menu. This will prevent Windows Search from loading after you restart your computer.
# Additional Tip 5
Once you’ve completed the above procedure and you can further improve the performance by applying this simple built in tool in Windows.
Defrag your Hard Drive:
Practically the files are not stored in one place, they’re stored in different places around spinning platters. Your files are written in “blocks” from one side of the drive’s platter to another side. But if your files are fragmented, then those files get split between blocks far away from each other. Hence, your drive takes longer to read that file. Defragmenting your hard drive can put those blocks in sequential order, so that drive pointer should not move around the entire drive to read a single file.
Note: Defragmentation should be done only when the fragmentation reaches more than 10%
To start Defragmentation in Windows 10:
Open the disk optimization tool and search for "optimize" or "defrag" in the taskbar
Click Analyze after selecting your hard-drive.
Check the percentage of fragmented files in the results
If it seems you need to defragment the drive click on optimize.
When Windows is done, your drive should say 0% fragmented in the Optimize Drives utility.


Remo Optimizer is a software tool that automatically repairs PC registry errors. The free version of this software repairs file associations and font entries, and allows you to remove startup programs. Upgrading to the premium paid version for $59.97 allows you to clean and fix system errors, free up computer memory and optimize your PC.

System Requirements
Operating System – Microsoft Windows 8, Windows 7, Windows Vista, Windows XP, Windows 2003 and Windows 2008
RAM – 1 GB RAM Recommended)
Free disk space - 50 MB (for installation)
System Type - Supports both 32-bit & 64-bit PC
You must log in to your Windows PC as Local System Administrator to install and use this software
Copyright © Remo Optimizer, All Rights Reserved - All Other Trademarks Acknowledged
Legal: Privacy Policy | Terms & Conditions | EULA | Billing and Refund Policy
Corporate: About Us | Contact | Products
Product: Product Tutorials | Knowledge Base | Support | Resources


