How to Fix a Slow Laptop on Windows 11?
If you find that your computer is slow after a Windows 11 update, then you are not alone. Windows 11 being the latest Operating system in the lineup may be new to people and programs alike. If you are someone who feels that Windows 11 is slow, sluggish, or laggy, you will find credible solutions that you can try at home to speed up your Windows 11 system.
Why is My Computer Slow on Windows 11?
A slow Windows 11 PC is a fairly common problem and has various causes ranging from Outdated hardware to poor data management and need not be caused by the operating system itself. Before we can conclude the cause, users can try out the various troubleshooting solutions below.
Solutions to try when Windows 11 is Slow
1. Check Hardware
Windows 11 has a specific set of minimum requirements that your hardware must meet to run smoothly. If your hardware does not or barely meets the requirements, consider upgrading. The required hardware specs to run Windows 11 are mentioned below-
- RAM- 4GB
- Storage - 64GB or larger
- Processor - 1 Gigahertz, 2 or more cores with a 64-bit processor
2. Restart the Windows 11 System
Having a lot of applications open may eat up your RAM. Restarting your Windows 11 system will help you close all applications running to give you a smoother Windows 11 experience.
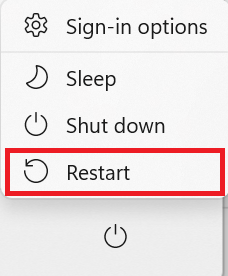
- Click on the Start button on the Taskbar.
- Click on the Power button.
- From the drop-down list select Restart.
3. Disable Startup Programs
Some programs automatically start as soon as you open Windows. In most cases several applications open at once causing your RAM to overload. You can disable startup programs by following the instructions below.
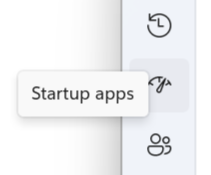
- Open Task Manager.(shortcut: Ctrl+Shift+Esc)
- Select the Startup Tab.
- Right-click on the program.
- Select the Disable option in the drop-down box.

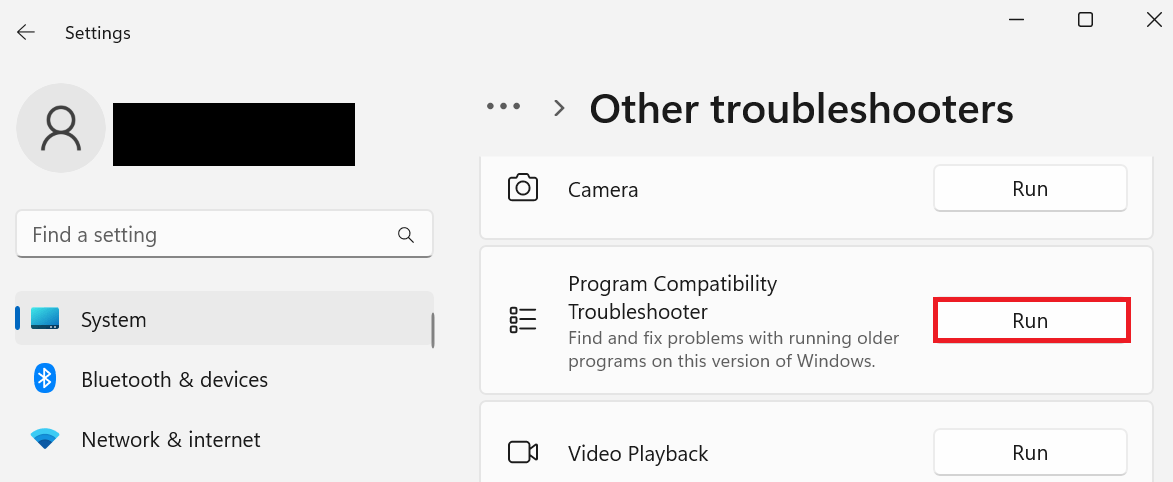
4. Run Program Compatibility Troubleshooter
Sometimes programs can be incompatible with Windows 11, the current Windows 11 version, or other programs causing your Windows 11 PC to stutter or function slowly. Windows 11 has an inbuilt troubleshooting.
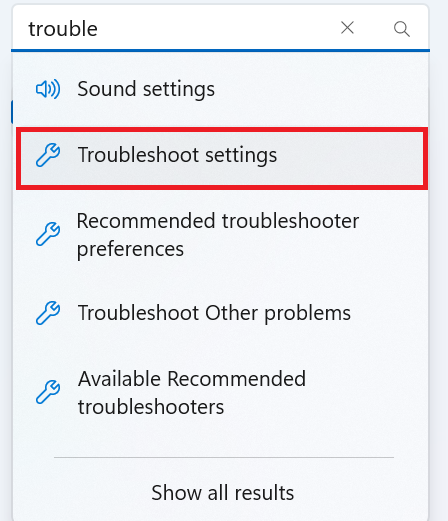
- Use the Windows+I shortcut to open Windows Settings.
- Use the search bar to locate and access Troubleshoot Settings.
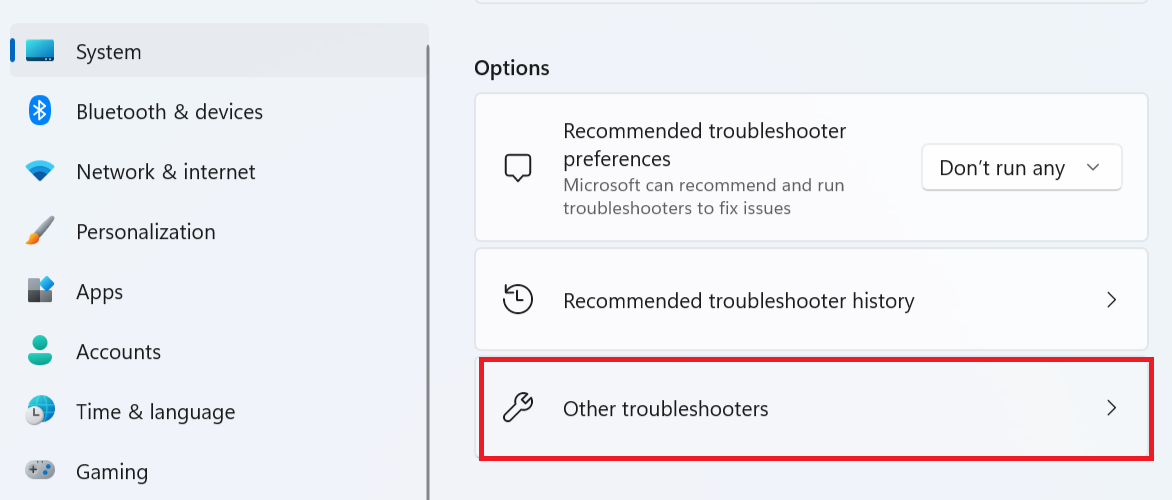
- Click on Other Trouble Shooters.
- Run the Program Compatibility Troubleshooter.
5. Ensure you have the latest Windows Updates Installed
Having an outdated version of Windows may not best while running applications that require your software to be updated at all times. You can always update Windows 11 using Windows Settings as demonstrated below-
- Use the Windows+I shortcut to open Windows Settings.
- At the bottom, click on Windows Updates.
- Click on Check for updates.
- Install updates if any.

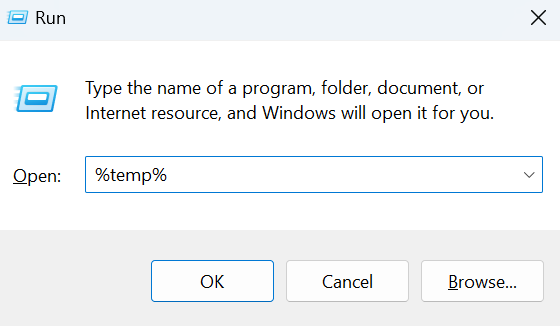
6. Remove Junk Files
Running junk files can be very heavy on your Windows 11 PC. they are fairly unnecessary and prevent your Windows from operating fast. You can terminate junk files and speed up Windows 11 by following the instructions given below-
- Use the Windows + R shortcut to open the Run Command.
- Type in "%temp%" and click on Run.
- Select all the temporary folders and use the Shift + Delete shortcut to permanently delete them.
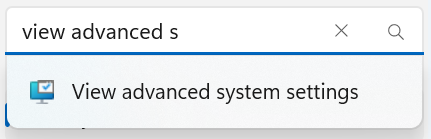
7. Manage Page File size
A paging file is a designated hard memory that can extend the PC RAM and store data that has not been used in a while. We can enable the page file to adjust its capacity accordingly to ensure better data management by using Windows Settings. Following the instructions to do the same.
- Use the Windows+I shortcut to open Windows Settings.
- Use the search bar to locate and access View Advanced System Settings.
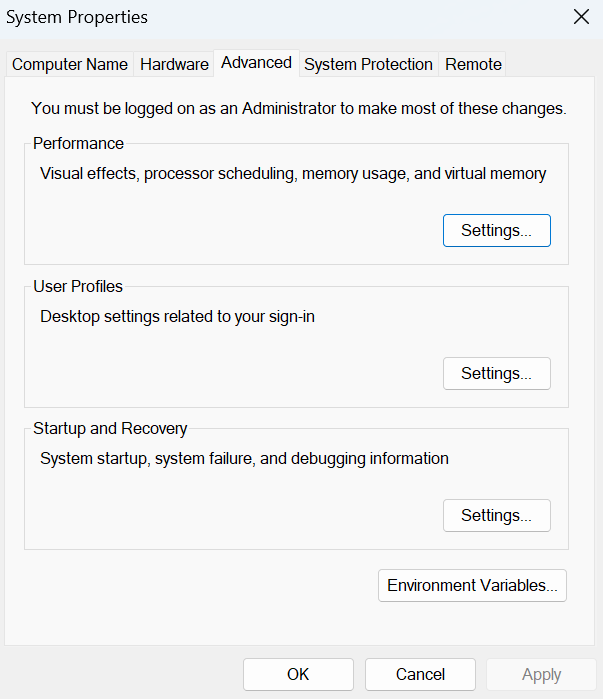
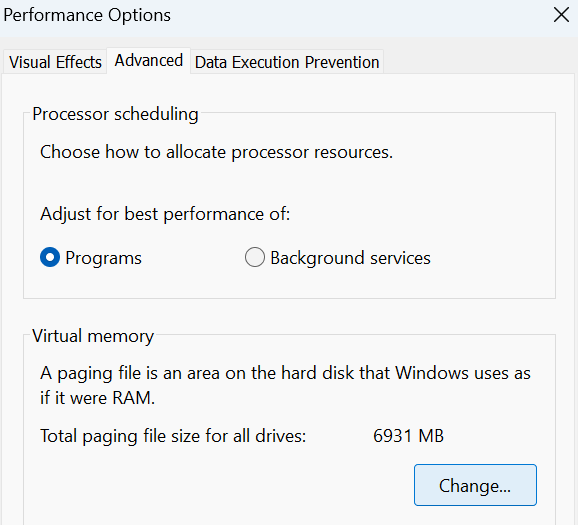
- Access the Advanced Tab and In the Performance section, click on Settings.
- Access the Advanced Tab and In the Virtual memory section, click on Change.
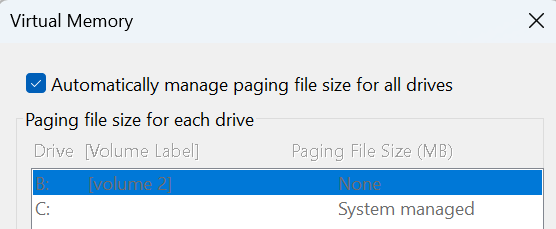
- Enable Automatically manage paging file size for all drives and click on OK.
- Restart your System and verify the results.
8. Scan for Malware
Malware is malicious software that is designed to disrupt your computer system and could be why Windows 11 is slow. In a world that requires you to be connected to the internet at all times, professional antivirus software is a must. However, you can use the security features of Windows 11 to scan for malware and Viruses. Follow the steps below to find out how.
- Use the Windows+I shortcut to open Windows Settings.
- Under the Privacy and Security Tab, click on Windows Security and Open Windows Security.
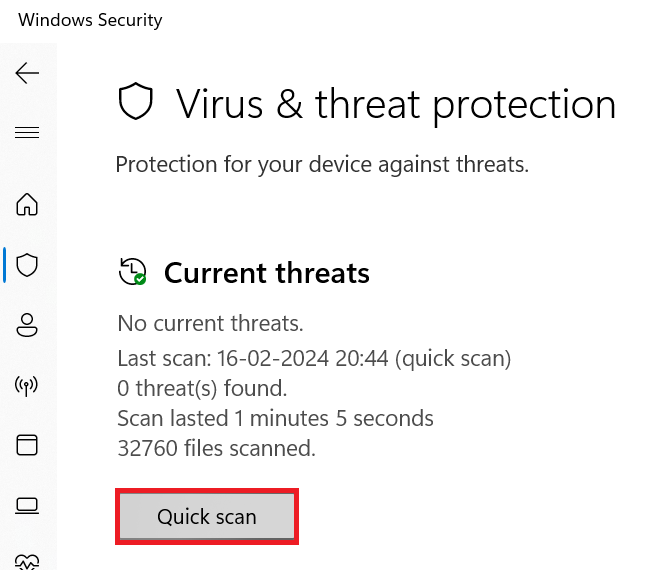
- Access Virus and Threat Protection and Run a Quick Scan.
9. Reinstall Windows 11
If you have tried all of the above solutions, then Reinstalling Windows 11 may fix your issue. However, you must know that the al your data will be erased, so backing up your system is a must. Reinstalling Windows 11 is a fresh start, so all settings will be restored to default and you may have to set up everything all over again.
10. Optimize your PC
Poor data management can cause clutter to accumulate in your Windows 11 PC. If you use multiple applications that are powerful and rely on processing speeds and memory, you may see a dip in speed causing apps to open slowly and load times that never end. You can use a professional Optimizer tool such as Remo Optimizer to free up memory and boost speed.
To Conclude
As someone who uses Windows 11, I usually experience such issues when multiple Chrome tabs are open. Google Chrome uses a lot of RAM, If you are a heavy Chrome user, I would suggest that you switch your browser to see if it makes a difference. I hope that this article was able to help you speed up your Windows 11 system. If you have any feedback please do feel free to reach out to me.


Remo Optimizer is a software tool that automatically repairs PC registry errors. The free version of this software repairs file associations and font entries, and allows you to remove startup programs. Upgrading to the premium paid version for $59.97 allows you to clean and fix system errors, free up computer memory and optimize your PC.

System Requirements
Operating System – Microsoft Windows 8, Windows 7, Windows Vista, Windows XP, Windows 2003 and Windows 2008
RAM – 1 GB RAM Recommended)
Free disk space - 50 MB (for installation)
System Type - Supports both 32-bit & 64-bit PC
You must log in to your Windows PC as Local System Administrator to install and use this software
Copyright © Remo Optimizer, All Rights Reserved - All Other Trademarks Acknowledged
Legal: Privacy Policy | Terms & Conditions | EULA | Billing and Refund Policy
Corporate: About Us | Contact | Products
Product: Product Tutorials | Knowledge Base | Support | Resources


